Showing posts with label baby. Show all posts

Wednesday, January 9, 2013

Six new cards!

Hello again!  Just popped in to share a half-dozen new cards.  These were sent as part of a gift to my dad and stepmom.  I like to stock them with handmade cards (and they like to tease me that they won't be sending them back to me!) 


Thanks - I love being spoiled.
Supplies: All supplies by Stampin' Up.  Flower punch from the "Itty Bitty Punch Pack," stamp from "Afterthoughts."  


Happy Birthday! 
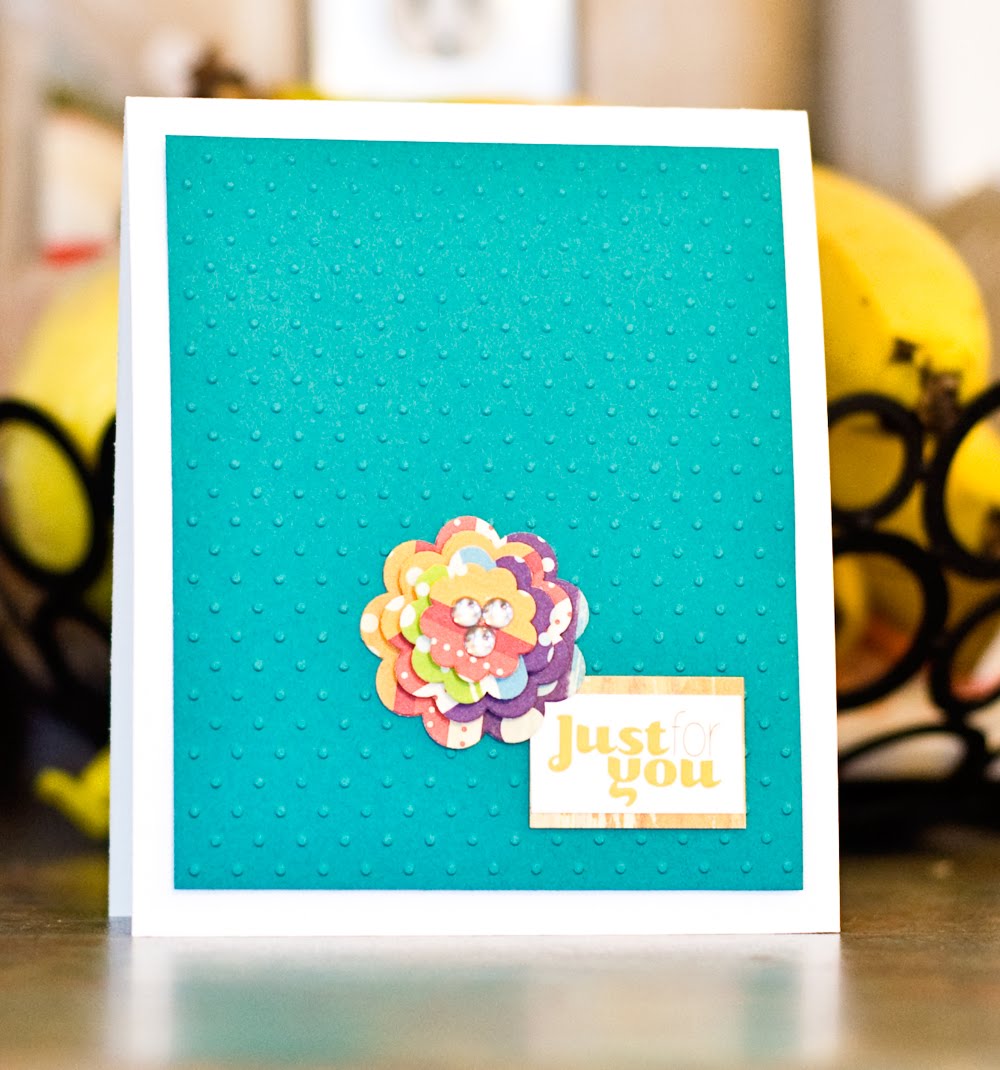
Supplies used:  Border punch from Fiskars.  Swiss Dot embossing folder from Cuttlebug.  All other supplies from Stampin' Up; flower stamp from "Button Buddies," sentiment stamp from "Something to Celebrate."  Isn't the Daffodil Delight/Baja Breeze combo amazing? 


S{ick}?
Supplies used:  All supplies from Stampin' Up; sentiment stamp from "Word Play." 


PARTY!  Happy Birthday:
All supplies from Stampin' Up.  Sentiment from Itty Bitty Banners (and matching framelit.)  All other stamps from "Owl Occasions."  A lot of work went in to this card (and my Stamp-A-Ma-Jig saw a lot of mileage!) but the result is well worth it!


Lollipop card:  Cardstock by Bazzil; embossing folder by Sizzix; ribbon by Stampin' Up; twine by The Twinery.  I used a Gluber from Cosmo Cricket to create the lollipop.  


Sweet Baby:  
Supplies used:  All supplies from Stampin' Up except microbeads, from Walmart.  Rattle stamp from "Button Buddies" and sentiment from "Itty Bitty Banners." 

What kind of crafting have you been up to lately?  


Sunday, November 4, 2012

Four cards for you!


This sweet baby card was made for my cousin.  I love the colour combination and the elephant paper; it says "baby" without being pastel or cutesy. 

Supplies:  All supplies listed are from Stampin' Up.
Cardstock:  Close to Cocoa, Crumb Cake, Early Espresso and Lucky Limeade.
Embellishments:  Chocolate Chip scalloped ribbon; So Saffron button; "Congratulations" stamp from Itty Bitty Banners; banner diecut from Bitty Banners Framelits.  The patterned paper is from Stampin' Up as well, but it's retired and I have NO idea what collection it came from.


I made this little treat holder for my husband and loaded it with cinnamon hearts.  I used this tutorial to create a sliding door; that way, the candy can be removed without ripping apart the card.  The "love" tag on the right side is the pull tab for the door.  Clever!  

Supplies:  All supplies listed are from Stampin' Up.
Cardstock:  Whisper White, Cherry Cobbler, and Pool Party.
Stamps:  Sweet Centers (heart and "I <3 and="and" love="love" p="p" tags="tags" tiny="tiny" you="you">
Miscellaneous:  Treat Cups, Circle punch (inside the treat cup), small tag punch (for the "love" tag.) 


I have a soft spot for scallops; this scalloped-front square thank you card is REALLY easy with the help of a die cut. 

Supplies: 
Cardstock:  Wisteria Wonder, Very Vanilla, and Whisper White from Stampin' Up.  Sage green from Bazzil.
Stamps:  Vase from "Button Buddies," Thank You from "Short & Sweet," both by Stampin' Up. 
Embellishments:  Flower buttons by Stampin' Up; scalloped square by Sizzix; banner die cut from Stampin' Up (Bitty Banners Framelits); clear rhinestones (in flower centres) by Recollections.


This last photo really doesn't do the card justice; it is SO cute in person!  I love the shaker frames to add dimension and a little bit of sparkle without a huge mess! 

Supplies: 
Cardstock:  Pool Party and Whisper White by Stampin' Up.
Stamp:  Button Buddies by Stampin' Up.
Ribbon:  Twine from Stampin' Up; chocolate ribbon salvaged from cupcake packaging! 
Embossing folder:  Cuttlebug
Glitter: Dazzling Diamonds by Stampin' Up. 
Ink:  Pool Party and Close To Cocoa by Stampin' Up. 
Transparency from office supply.  


Thanks for stopping in!  I've got a great cupcake shadow box to share - check back soon!  


Thursday, May 31, 2012

Farm Fresh Quilt - October Afternoon fabric!

The other quilt is done and on it's way to baby Lyla!  This one was made with Farm Fresh by Moda Fabrics (for October Afternoon!)  My new favourite thing about coordinating paper and fabric lines: I can make a matching tag!  


Thanks for stopping by! 

Sunday, May 27, 2012

Forest Friends Quilt

2012 will be the year of the baby boom in our family!  Between my family and my husband's, there will be four new additions to our extended families this year!  So exciting.  As I've mentioned before, I make a rag quilt for each new arrival; this one is for Finnley, born just last night.  The fabric collection is "Forest Friends" by Allegro Fabrics.


Another quilt is in its finishing stages for another family baby, born last week - stay tuned for pics of that one in the coming days!  

Wednesday, April 25, 2012

More CASEd cards!

A few more CASE'd cards to share with you!

The first is a flowerpot card, but my flowerpot when drastically wrong somewhere along the line.  It's supposed to be open at the top and the flowers are connected to the card and it slots into the pot.  Not so much.  Mine was a disaster (twice, if we're being honest) and I ended up giving up and just gluing the whole thing to a card base.  Still pretty cute, if I do say so!  Check out the tutorial here - maybe you can figure it out! 


This "Mr. & Mrs." wedding card is really simple and pretty - a pretty similar knock-off of the original with a different banner, embossing folder, and ribbon.  


These next two cards might be two of my favourites!  They're an adorable take on the classic baby ring stacker and made entirely with scraps.  There are FOUR babies due in our family in 2012, so I'll be going through a few of these!  The original was done by Lisa Lara but unfortunately, I'm unable to link to it - I found it on Pinterest but the source link doesn't work.  Hate it when that happens!


The last one is a CASE from an unknown source; again, I found it on Pinterest and the source link was broken.  I wish I could give credit where credit is due, because this card is GREAT!  


Supplies as follows:  

Flower pot:  Cardstock by Recollections (Grey, Black) and Stampin' Up (Very Vanilla, Cherry Cobbler, Lucky Limeade.)  Patterned Paper by October Afternoon.  Flower Die from Sizzix.  Embossing folder (on the leaves) from Sizzix.  Brads from Recollections.  Scallop border punch from Stampin' Up.

Mr. and Mrs.:  All supplies from Stampin' Up.  Colours used are Very Vanilla (Cardstock) and Crumb Cake (Ink and Ribbon.)

Ring Stackers:  Cardstock from Stampin' Up (Crumb Cake and Early Espresso.)  Patterned paper from various sources.  Woodgrain stamp from Hero Arts.  Bakers Twine from The Twinery.  Stamp, rub-on, and tag punch from Stampin' Up.

S(ick):  Patterned paper from unknown source.  Border punch by Fiskars.  All other supplies from Stampin' Up (colours used are Crumb Cake, Cherry Cobbler, Whisper White, and Pool Party.)  


See you next time! 

Monday, March 12, 2012

Hello, Love!

Finally finished James' birth layout.


In that moment, my life changed instantaneously and my heart grew exponentially.  It was the first time I saw your face, yet I felt I'd known you forever.  In my sleep-deprived, heavily-drugged state, the first words out of my mouth were 'Hello, Love!'  You were here, and you were mine.  Perfection.

Supplies used:
Cardstock:  Bazzil (12x12 base) and Stampin' Up (Not Quite Navy, Very Vanilla, Cherry Cobbler.)
Printed papers:  "Lil' Man" collection from Cosmo Cricket.
Ink:  Stampin' Up (Sahara Sand.)
Chipboard Letters:  Thickers by American Crafts.
Chipboard Accents: Cosmo Cricket "Lil' Man" collection.
Font:  "Daniel" from dafont.com.

Saturday, February 25, 2012

Dresser Card - Baby Girl

I saw this adorable baby dresser card online and wanted to duplicate it for my girlfriend Joss.  She is expecting her little girl next month and her shower is tomorrow; I can't wait to give it to her!


Supplies needed:
One 12x12 sheet of cardstock
Brown ink 
Sponge
Brads
Hole puncher
Scraps of patterned paper
Onesie stamp
Pop-dots and regular adhesive
Metal hanger (mine is from Tim Holtz)

Instructions:
1.  Cut your 12x12 cardstock into five pieces:
-One piece 4.5x12" (the card base)
-One piece 1x5" (the top wood trim)
-Three pieces 1.25x4.25" (the drawers)

2.  Score your card base (the biggest piece) and fold.  

3.  Sponge all of the edges with brown ink.  This is subtle but gives the dresser some dimension.  

4. Punch holes in your drawers for the brads.  I measured and marked with a pencil on the backside of one drawer so they'd be even, then punched through all three layers at the same time.

5. Apply brads to drawers.  Please note there is NO brad under the onesie.

6.  Using pop-dots, adhere the wood trim to the top of the card.  Then line up the drawers and adhere with pop dots in the remaining space. 

7.  Stamp a onesie and cut out.  Using sticky strip or other strong adhesive, adhere to hanger.  Hook the top of the hanger over a drawer and adhere using pop-dots.

8.  Make a blanket using a scrap of paper.  I used patterned paper, cut a fringe, and embossed it with a small dot pattern.  Fold the top edge and tuck behind the top of the bottom drawer.  Adhere front with a pop-dot.

Time consuming, yes - I'm not going to lie, this took over an hour!  But for a good friend at a very exciting time in her life, it's WELL worth it.  :) 

Enjoy! 

Sunday, January 8, 2012

James' newborn layout

I'm really thrilled with how this page turned out; it's simple, clean, boyish, and beautiful!


Supplies as follows:
Cardstock from Bazzil and Recollections
Patterned Paper from American Crafts ("The Goods" collection)
Diecut letters ("James") cut with Slice by Making Memories, Bon Appetit card
Buttons from Stampin' Up
Font (on stats) "Antipasto" from dafont.com

Friday, December 30, 2011

On Your Day...

A scrapbook page for my baby boy, documenting the front-page headline, winning lotto numbers, local weather, #1 movie, and #1 song on the day he was born.


Supplies:
Background paper by Cosmo Cricket (Mr. Campy collection)
Cardstock by Stampin' Up (Chocolate Chip and Crumb Cake) and Recollections (ivory)
Leaves and acorn embellishments by K&Co.
Font from dafont.com ("It Ain't Rocket Science")
Chipboard letters by American Crafts
Mini Vintage Tag by Stampin' Up

Thursday, December 8, 2011

Baby Boy - Birth Announcement & Thank You Cards

Our sweet baby boy, James Alistair, made his safe (and VERY slow!) arrival on October 2, 2011!  He is, without a doubt, my biggest love and brightest joy.


I created his birth announcements in Photoshop with a picture I took of him at about 10 days old.  They were printed and mailed to our family and friends.


And of course, I had to make a set of thank you notes for the gifts we've received!  I was on bed rest due to medical complications for the last 8 weeks of my pregnancy so I created a bunch of these prior to giving birth; of course, they were all gone by time he arrived and another batch needed to be made!  I've created about 60 of these notes; they're easy to make in a batch and there's a little bit of variety to keep me from getting bored with them.  


Supplies:  All supplies from Stampin' Up! unless otherwise noted.  Cardstock (Baja Breeze, Not Quite Navy, Whisper White); Fox & Friends stamp set; Baja Breeze ink; 1/8" taffeta ribbon in Baja Breeze.  "Thanks" sentiment from Gel-a-Tins; Embossing folders by Cuttlebug, Sizzix, and Quickutz.  

Monday, April 25, 2011

More cards, of course!

Here's a mishmash of everything else I've been up to in the last little while!


Let me know if you have any questions about supplies or techniques! 

Saturday, April 16, 2011

My latest project...

My husband and I are expecting our first baby this fall!

I'm now 14 weeks along, but I've been waiting to share this layout for quite a while now.  This picture is from our first ultrasound on March 1st, 2011.  Baby was tiny, only 4mm long, with a little tiny flicker of a heartbeat.  It was amazing.


The journalling reads, "The first time we saw you on an ultrasound was an amazing experience; your heart was beating like crazy and it was the most beautiful thing I'd ever seen."  

Papers, journalling card from October Afternoon (Daydream collection.)  Ribbon, button, and twine from Stampin' Up.  Glimmer mist used to distress papers.  Green letters from an unknown source (they've been in my stash forever!) 

Sunday, January 16, 2011

Pretty in Pink

This first card was inspired by SFYTT090410.  I wasn't really thrilled with it as I was creating it, but I think the end product came together nicely.  I love the sentiment (from Technique Tuesday) and the pretty pastel papers (American Crafts "Letterbox" collection.)


This next card was made to welcome my cousin's first baby, due at the beginning of February.  I make a quilt for each new arrival into our family; hers is ivory, pink and brown so the card was made to match.  That adorable onesie stamp is from one of the Kim Hughes collections by Cornish Heritage Farms.  Love her work! 

Saturday, May 15, 2010

Plenty of new cards...

I have a lot of catching up to do!

For details on these cards (product lines, etc.) please see my SCS Gallery.