Showing posts with label birthday. Show all posts

Wednesday, January 9, 2013

Six new cards!

Hello again!  Just popped in to share a half-dozen new cards.  These were sent as part of a gift to my dad and stepmom.  I like to stock them with handmade cards (and they like to tease me that they won't be sending them back to me!) 


Thanks - I love being spoiled.
Supplies: All supplies by Stampin' Up.  Flower punch from the "Itty Bitty Punch Pack," stamp from "Afterthoughts."  


Happy Birthday! 
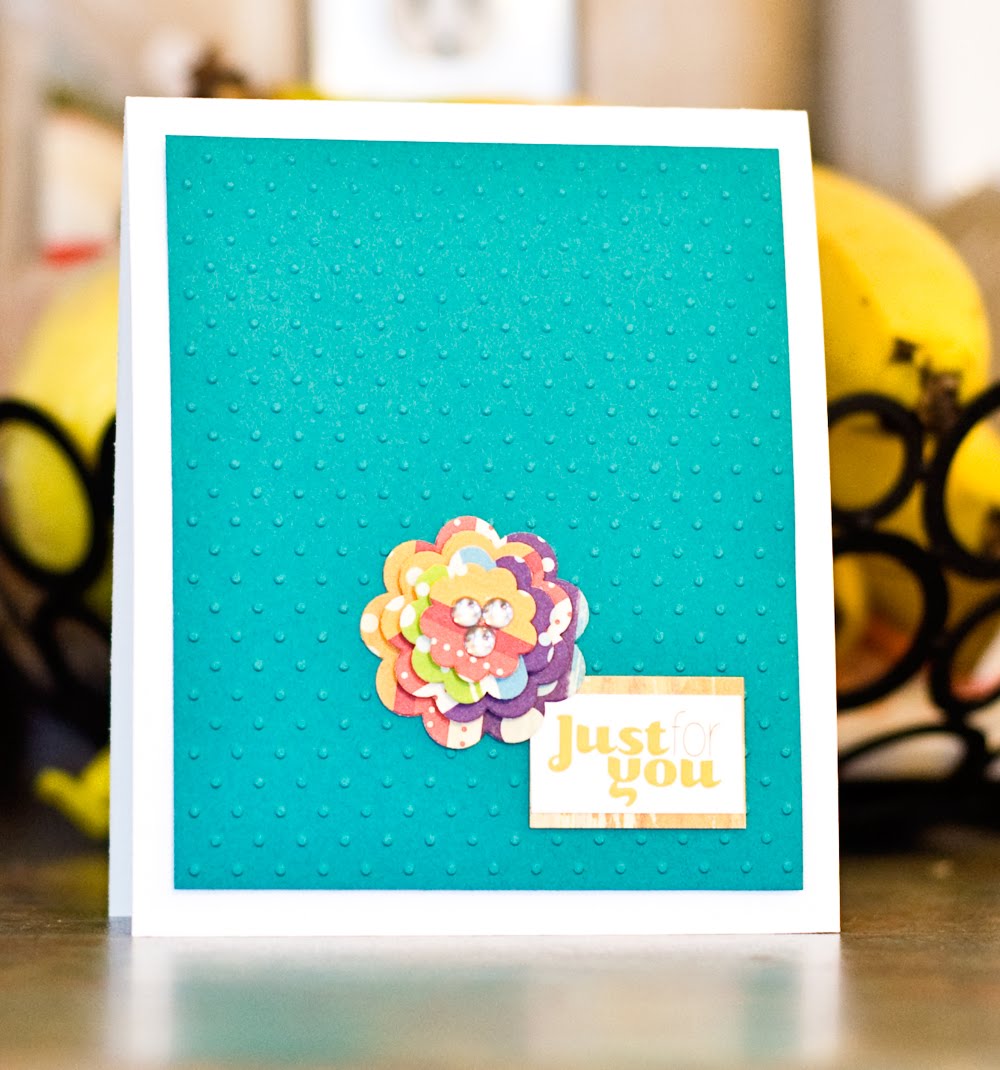
Supplies used:  Border punch from Fiskars.  Swiss Dot embossing folder from Cuttlebug.  All other supplies from Stampin' Up; flower stamp from "Button Buddies," sentiment stamp from "Something to Celebrate."  Isn't the Daffodil Delight/Baja Breeze combo amazing? 


S{ick}?
Supplies used:  All supplies from Stampin' Up; sentiment stamp from "Word Play." 


PARTY!  Happy Birthday:
All supplies from Stampin' Up.  Sentiment from Itty Bitty Banners (and matching framelit.)  All other stamps from "Owl Occasions."  A lot of work went in to this card (and my Stamp-A-Ma-Jig saw a lot of mileage!) but the result is well worth it!


Lollipop card:  Cardstock by Bazzil; embossing folder by Sizzix; ribbon by Stampin' Up; twine by The Twinery.  I used a Gluber from Cosmo Cricket to create the lollipop.  


Sweet Baby:  
Supplies used:  All supplies from Stampin' Up except microbeads, from Walmart.  Rattle stamp from "Button Buddies" and sentiment from "Itty Bitty Banners." 

What kind of crafting have you been up to lately?  


Monday, April 2, 2012

CASE, CASE, CASE!

I'm short on inspiration and time these days, so most of my crafting has been CASEing!  I've found some great creations online and went at them myself. 

This first card was cased from THIS PROJECT by Mary.  Hers is actually a bookmark, but mine is glued flat and just a card.  I changed a number of elements, obviously, but I love the final look!  


This second card was inspired by Jen Del Muro's project seen HERE.  I used the five current Stampin' Up In Colours on this; I love that they all go together so well! 


And the last card is an original layout, but I cased that little owl from Heather Summers' blog.  She has a great tutorial on how to make them!


Supplies list:

"Always" card:  All supplies from Stampin' Up.  Cardstock (Cherry Cobbler and Crumb Cake).   Polka-dot scalloped ribbon in Basic Black.  Neutrals buttons.  "Always" stamp from Always Elegant set.  Flower die from Sizzix/Stampin' Up.  Basic Black brad.  Modern Label punch.  First Edition DSP.

"A Million and One Thanks" card:  Cardstock from Bazzil (textured white and black) and Stampin' Up (Whisper White.)  Coloured cardstock from the 2011-2013 In-Colours by Stampin' Up.  Buttons from Michael's.  Embossing folder from Sizzix, used with the Cuttlebug.  Stamp from Technique Tuesday.  Embossed hearts from Sizzix/Stampin' Up.

"Happy Birthday" card:  Cardstock from Stampin' Up (Not Quite Navy, Early Espresso, Cherry Cobbler, Whisper White, Basic Black.)  Patterned Paper from "Play" by American Crafts.  Twine (Cherry Cobbler) from Stampin' Up.  Sentiment from Stampin' Up ("Afterthoughts" set.)  Various punches from Stampin' Up (Circles, Word Window, Heart, Itty Bitty.)  


Thanks for coming by - see you next time! 

Thursday, February 23, 2012

Birthday Balloon Wreath

Another easy, quick project with beautiful results - my favourite kind!

Here are the supplies needed:
-One pool noodle (or styrofoam wreath form)
-Duct tape (if using pool noodle)
-Balloons.  I used 350 full-size balloons.
-Floral pins.  I used 360 of these (a few extra for the joint on the wreath.)
-Ribbon

The pool noodle is used in place of a wreath form.  Honestly, wreath forms are almost always the most expensive part of my projects so I've been looking for an alternative.  Pool noodles are $2 at the dollar store - perfect!

Instructions:

1.  Cut your pool noodle to the desired length.  I cut a little over a foot off of mine and left myself with about 4' of noodle.  You can just cut it with a big kitchen knife - if you've got good knives, this is easier than you'd think!


2.  Bend your noodle into a circle and secure the ends with floral pins (putting one side of the pin on each side of the cut) and duct tape.  Nothing else will be strong enough to hold it.  Ta-da!  You have a wreath form with a $2 price tag (and a couple of strips of duct tape.)


3.  Feed a floral pin through the middle of your balloon.


4.  Stick the pin into the form.

5.  Repeat.


6. ...and keep repeating.


7.  And keep repeating.  This is what the wreath looks like with 100 balloons:


8.  Keep going.  This is 200 balloons:


9.  Keep going until you're *almost* finished.  Leave a gap just wider than the width of your ribbon.


10.  Feed the ribbon through the gap and tie a knot or bow at the top.  Continue pinning balloons over top of the ribbon to cover and fill the gap.


You're done!  Easy as that!

The cost?
Pool noodle - $2
Spool of ribbon - $3.50
Balloons (5 packages of 72 balloons at $5 each) - $25
Floral pins (4 packages of 100 at $1.44 each) - $5.76
Incidentals - some duct tape.

TOTAL:  $36.26.  Not too shabby!

Enjoy and happy crafting!

Sunday, January 16, 2011

October Afternoon - Schoolhouse, Modern Homemaker, and Campfire

I waited SO long for the new October Afternoon lines to arrive at my LSS.  They were debuted last summer and finally came into stock just before Christmas!  I've had a lot of fun with these three beautiful lines and here are a few of my favourites:

From the Schoolhouse line:


From the Modern Homemaker line: 


From the Campfire line: 


Big Squares

I've got a TONNE of new stuff to share with you!  I figured I'd break it down in to a few smaller, more manageable posts.

These first two cards are a couple of big (5x5") square ones; I rarely make square cards but I'm always pleased with them when I do!  I used the big squares to take on two of the new lines by Cosmo Cricket, "Pixielicious" and "Togetherness."  Both of these cards are pretty much CASE'd from the Cosmo Cricket website; why mess with perfection?


Monday, August 16, 2010

Friends, Robots, and Shabby-Chic Birthdays


Birthdays - Ladies and Gents

Two birthday cards; one for the ladies and one for the guys.


"Happy B-day" with papers from Basic Grey's "Urban Prarie."


"Enjoy the Day" has a nice star theme with lots of metallic elements. 

Saturday, May 15, 2010

Plenty of new cards...

I have a lot of catching up to do!

For details on these cards (product lines, etc.) please see my SCS Gallery.